The revered craft of sword making has been an integral part of human history, capturing the imagination and respect of artisans and enthusiasts alike. In this guide, you’ll be introduced to the satisfying clink of the hammer and the bright glow of molten metal as we explore ancient swordsmithing techniques. Traditional sword forging is not just about weapon crafting; it’s about holding a piece of history in your hands, created through your own perseverance and skill.
Whether you’re a novice seeking a comprehensive sword making tutorial or an experienced blacksmith looking to revisit the blacksmithing basics, you’ll find this journey through metalwork both fascinating and informative. We honor the dedication and skill of centuries-old blacksmiths as we unravel the process of crafting a medieval sword from scratch. Prepare to ignite the forge and discover the allure of shaping your very own symbol of medieval valor.
Stay with us as we embark on this transformative adventure, merging the past and present in the creation of a functional piece of art that pays homage to the legacy of ancient craftsmen. Let the fiery passion for authenticity drive your hands, and may your blade be strong and steadfast, a true reflection of medieval splendor.
The Fascinating History of Medieval Swords
The saga of the medieval sword is an exemplary narration of craftsmanship and adaptation. It is a journey through time, revealing the remarkable evolution of what became more than a mere weapon; it stood as a symbol of power, artistry, and technological progress across different cultures. This voyage through sword history elucidates not only the blade evolution that changed the landscape of medieval weaponry but also the storied chapters of historical sword making.
The Birth of the Medieval Sword: Origins and Evolution
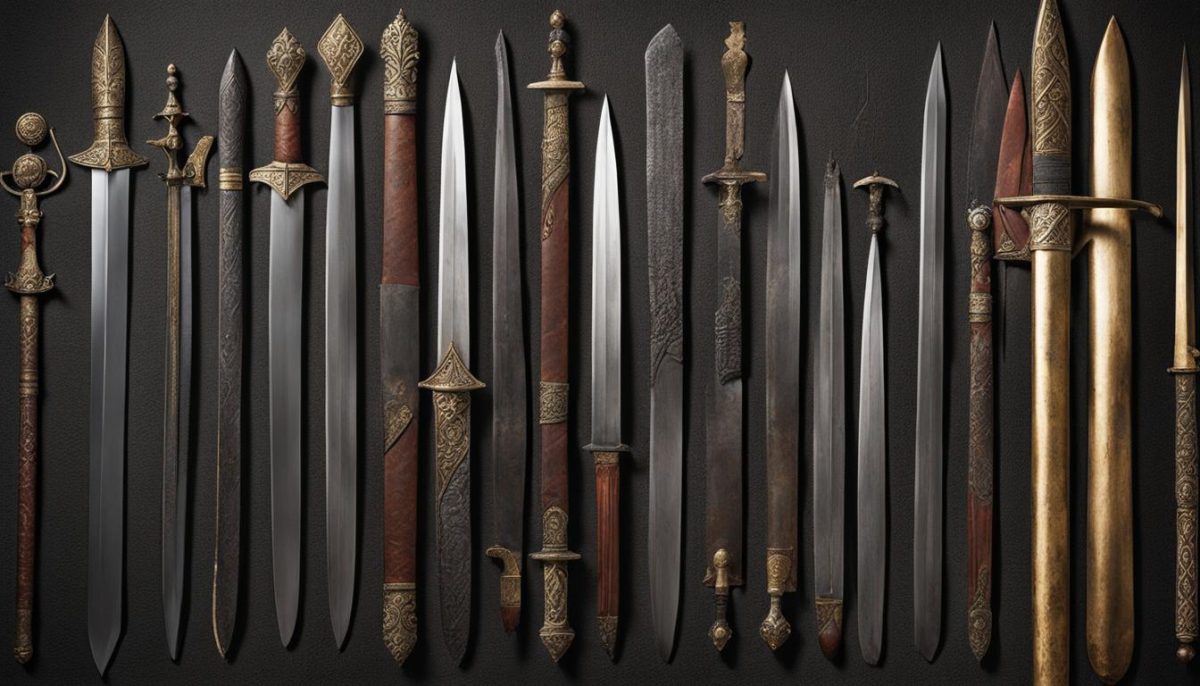
From the early Viking age swords, characterized by their broad, sharp edges and double-handed grips, to the slender and pointed blades of later years, the medieval sword underwent significant transformation. The evolution was driven by advances in metallurgy and changing combat dynamics as sword makers sought to optimize the balance and striking power of these blades.
Swordsmithing Techniques of the Middle Ages
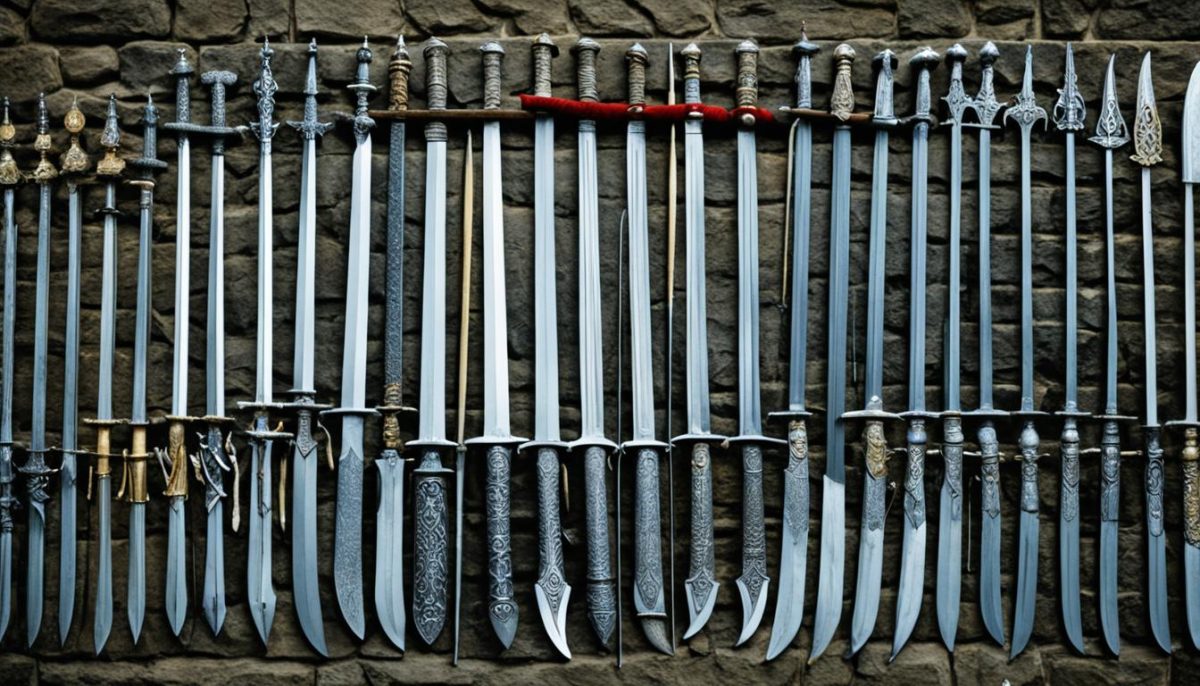
The Middle Ages were a pinnacle era for the innovation in swordsmithing techniques. Craftsmen utilized techniques such as pattern welding and treated bloomery iron with mastery, culminating in weapons that were not only effective in battle but also breathtakingly beautiful. The traditional forge was the swordsmith’s sanctum, host to the anvil and hammer, essential in shaping the destiny of each blade.
| Technique | Description | Benefit |
|---|---|---|
| Pattern Welding | A method involving the forging of twisted rods of iron to create distinctive patterns on the blade | Enhanced strength and flexibility with artistic aesthetics |
| Bloomery Iron Processing | Processing iron with a lower carbon content to produce malleable sword blanks | Optimal for absorbing shock without fracturing |
| Tempering | Heating and controlled cooling to optimize blade hardness | Swords less prone to breaking upon impact |
Notable Swords Throughout History
No exploration of medieval weaponry is complete without recognizing swords of legend that have pierced the veil of time to inspire awe today. Swords like Ulfberht, marked with an inscription of its name, spoke of unmatched quality and superior craft. Then there is Excalibur, a sword entwined with Arthurian legend, symbolizing the divine right to rule. Each of these storied blades carries tales of valor and mystery, solidifying their place in the annals of sword history.
Essential Materials and Tools for Sword Making
Embarking on the quest to create your own medieval sword, you must first gather the requisite materials that stand at the core of the craft. High-quality sword materials begin with carbon steel, the bedrock of durability and edge retention necessary for an authentic blade. To complement the blade itself, other metals such as bronze are often sought for their decorative merit, adding historical allure to the finished weapon.
Equally crucial are the blacksmithing tools and forge equipment, each serving a specialized purpose in the transformation from raw metal to a storied blade. The anvil becomes the reliable surface upon which the steel is shaped, while tongs and hammers fulfill the roles of manipulating and forming the heated metal. Introducing air into the heart of the forge, bellows are essential to maintaining the intense temperatures required to mold carbon steel.
- High Carbon Steel for blade resilience and sharpness
- Bronze for adding decorative elements
- Anvil as a dependable work surface
- Tongs for safely maneuvering heated metal
- Hammers for precise strikes shaping the blade
- Bellows to control forge atmosphere and temperature
While modern blacksmiths might utilize contemporary technologies, understanding and replicating the equipment used in medieval times offers a closer connection to the traditional sword making process. Here’s a quick look at the obligatory items for your medieval blacksmithing setup:
| Tool | Purpose | Medieval Comparison |
|---|---|---|
| Forge | Heats the steel to workable temperatures | Charcoal or wood-fired forge |
| Anvil | Provides a stable surface for shaping | Large stone or metal block |
| Tongs | Grasps and positions hot metal | Iron with long handles for safety |
| Hammers | Sculpts and forges the blade | Hand-forged iron hammers of various weights |
| Bellows | Increases air flow to raise the temperature | Hand-operated wooden bellows |
With your materials and tools at the ready, the journey from raw metal to a piece of history is about to begin. The careful selection and use of such tools and materials are the unspoken bond between the blacksmith and their craft, bridging the divide between present and past in each hammer strike.

Make Medieval Swords: Step-by-Step Crafting Process
Embarking on the transformative journey of medieval sword design and construction requires patience, skill, and a comprehensive sword forging guide. We’ll start with conceptualizing the design, then delve into the heat of blade smithing, followed by the crucial heat treatment steps, and conclude with intricate hilt assembly techniques.
Designing Your Sword: Choosing the Right Shape and Size
Every legendary blade begins with a vision. Historical accuracy and personal preferences play significant roles in determining the appropriate sword design. It’s essential to contemplate the balance and functionality that truly represent swords from the medieval times. Selecting the ideal length, width, and curvature is the first step in this authentic craftsmanship journey.
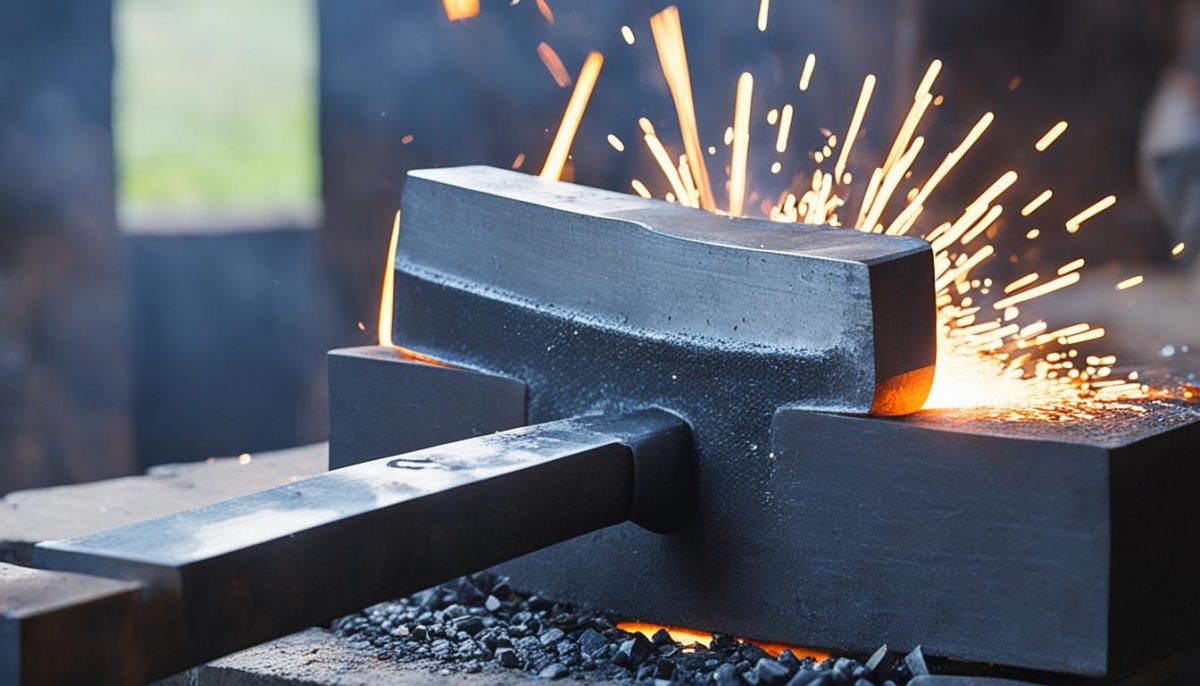
Forging the Blade: Heating, Hammering, and Shaping
With design in hand, we transition to the forge. The intricate process of shaping your blade begins. Precise heating in the forge is followed by meticulous hammering, where the metal starts to assume its distinguished form. This stage is both an art and a science, demanding an unwavering attention to the blade’s thickness, edge, and taper.
Quenching and Tempering: The Secrets to a Strong Blade
The quintessence of blade smithing lies in mastering heat treatment. The quenching process involves rapidly cooling the heated metal, significantly increasing its hardness. Tempering then follows to ensure the blade achieves the right balance of toughness and flexibility—essential characteristics for a battle-ready sword.
Adding the Hilt: Techniques for Affixing the Handle
The marriage of blade to hilt is what truly forms a sword. Selecting materials that resonate with the period—like wrought iron, steel, wood, or even bone—for the handle and guard will enhance authenticity. The hilt’s assembly not only affects the aesthetics but the overall weight distribution and comfort in handling, culminating in a sword’s distinctive identity.
- Selecting grip material for comfort and appearance
- Attaching the cross-guard for hand protection and balance
- Securing the pommel to counterbalance the blade
Finishing Touches: Authentic Detailing and Customization
As you near the completion of your medieval sword, the journey transitions from forging to embellishment—a stage where your blade inherits its soul. This is where sword detailing and custom engraving come into play, allowing you to etch a piece of history onto your weapon. Engraving runes or familial insignias can reconnect you with the ancients, adding an element of personal significance and breathes life into metal.
Beyond engraving, medieval decorations such as intricate wire wrapping or rich leatherwork can elevate your sword’s handle. These accouterments not only enhance grip but also offer a lavish aesthetic that distinguishes your sword in a sea of replicas. Techniques to achieve a historically resonant patina, alongside protective finishes to guard against rust, are essential knowledge for the aspiring artisan. By mastering these methods, the end product is both a weapon and a testament to personalized craftsmanship—a true piece of personalized weaponry.
Your medieval masterpiece would be incomplete without its accessories—the scabbard and sword belt. These elements complement your creation, ensuring your sword is battle-ready and ceremoniously wearable. Each stitched leather piece and forged metal fitting contributes to the overall narrative of your sword—an authentic narrative that echoes through the annals of time. Embrace these final touches with the same fervor as the forge, and your medieval sword will not just be an artifact of the past, but a legacy in its own right.